
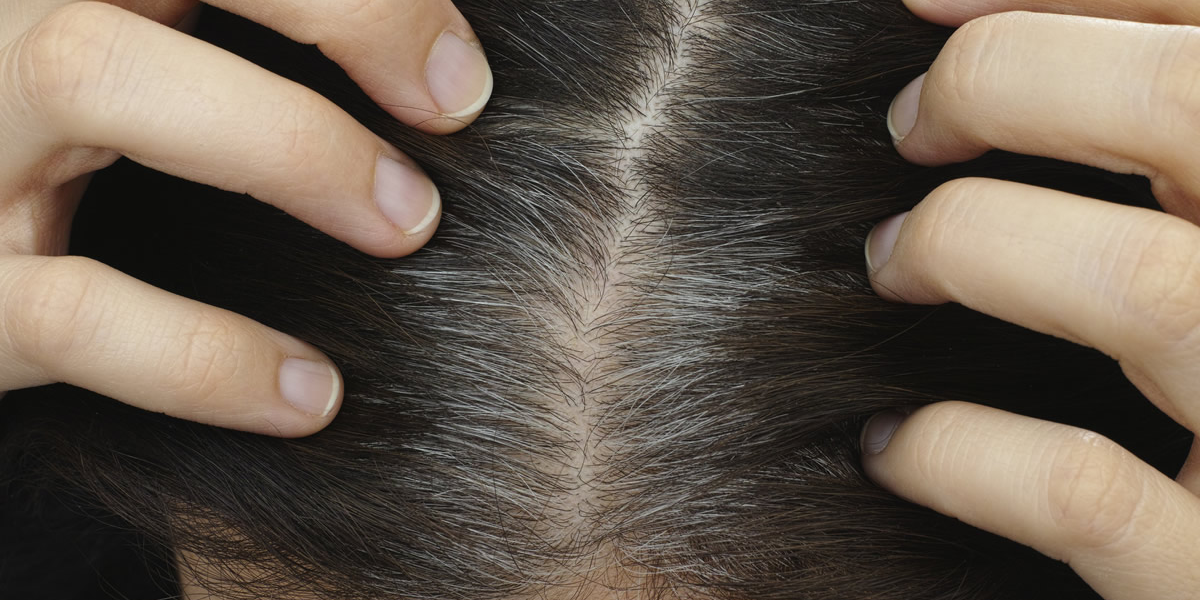

If you are looking for a natural way to dye your hair, you might consider making the homemade walnut shell dye we suggest below.
This method is a chemical-free alternative and can give your hair a dark and shiny color. Here’s how to make homemade hair dye with walnut shells .
What do you need:
Walnut shells (about 15-20 shells)
Water
A pot
A colander
A bowl
A brush or sponge to apply the tint
Gloves to protect your hands
Instructions:
Start by collecting the walnut shells. Make sure you have enough to cover the entire length of your hair, depending on its density and length.
Crack the walnut shells and separate the inner shells from the outer shells. You will only need the outer shells to prepare the dye.
Place the outer shells of the walnuts in a saucepan and cover with water. Make sure the shells are completely submerged in the water.
Turn on the stove and bring the water to a boil. Once it reaches boiling point, reduce the heat and simmer the walnut shells for about 30 minutes. This will allow the color to be extracted from the shells.
After 30 minutes, turn off the heat and let the water with the walnut shells cool. Once the water is cool enough to touch, you can continue.
Place a sieve over a bowl and pour the water with the walnut shells through the sieve. This will allow you to separate the shells from the water.
You now have your own homemade hair dye! You can apply it directly to clean, dry hair using a brush or sponge. Make sure to wear gloves to protect your hands.
Apply the dye evenly to your hair, making sure to cover all strands. Once applied, you can leave it on for at least an hour. If you want a more intense color, you can leave the dye in your hair for longer.
Once the dye has been on your hair for long enough, rinse your hair with warm water until the water runs clear. Avoid shampooing for the first 24 to 48 hours to allow the dye to better set in your hair.
Keep in mind that the color you get will depend on your natural hair color.