
Roses are renowned for their beauty and fragrance, and growing them from seed can be a rewarding and fulfilling experience. While it requires patience and care, the process isn’t as complex as it seems. Here’s a step-by-step guide to help you grow your own roses from seed.
Getting the seeds:
rose seeds on a plate
Roses produce seeds in their hips, which are the fruit-bearing structures left behind after the flowers fade. Allow the rosehips to fully ripen on the plant until they turn red or orange and feel firm to the touch. When ready, carefully harvest the hips.
- Harvesting rosehips:
Use scissors or pruning shears to cut the mature hips from the plant. Make sure they are mature and have developed their full color.
Remove the seeds from the hips by cutting or gently crushing them. - Extraction of seeds:
Separate the seeds from the surrounding pulp. Rinse them thoroughly to remove any remaining pulp or residue.
Seed treatment:
rose seeds ready to be refrigerated - Soaking the seeds:
Some rose seeds benefit from soaking in warm water for 24 hours. This softens the seed coat, making germination easier. - Stratification:
Stratification mimics the natural winter conditions needed for some rose species to germinate.
Moisten a paper towel and place the seeds inside. Seal them in a plastic bag and refrigerate for 4 to 12 weeks.
Germination: - Preparation of the germination medium:
Use a seed starting mix or a mixture of peat moss and perlite in small containers or seed trays.
Ensure good drainage by drilling small holes in the bottom. - Plant the seeds:
Plant the seeds about ¼ inch deep in the prepared medium.
Keep the soil constantly moist but not waterlogged.
Cover containers with plastic wrap or a clear lid to maintain humidity. - Ideal conditions:
Place the containers in a warm location with indirect sunlight.
Germination can take anywhere from a few weeks to several months, so patience is key.
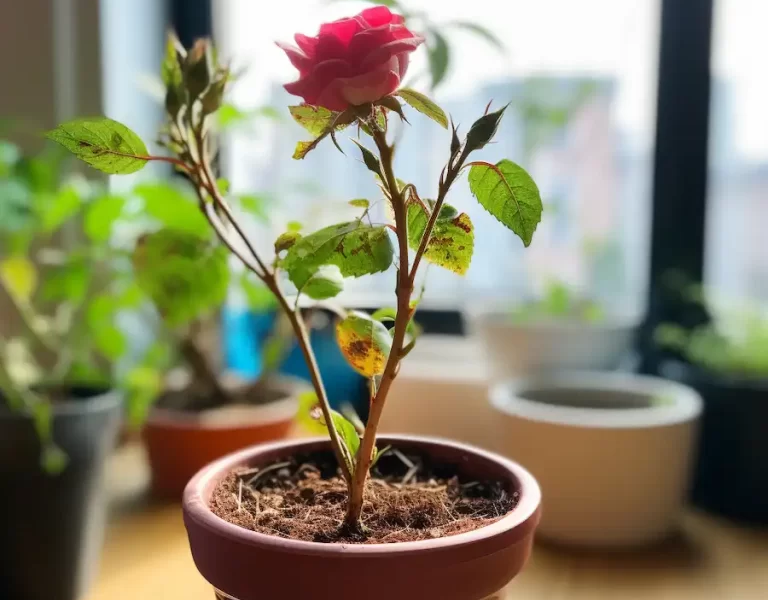
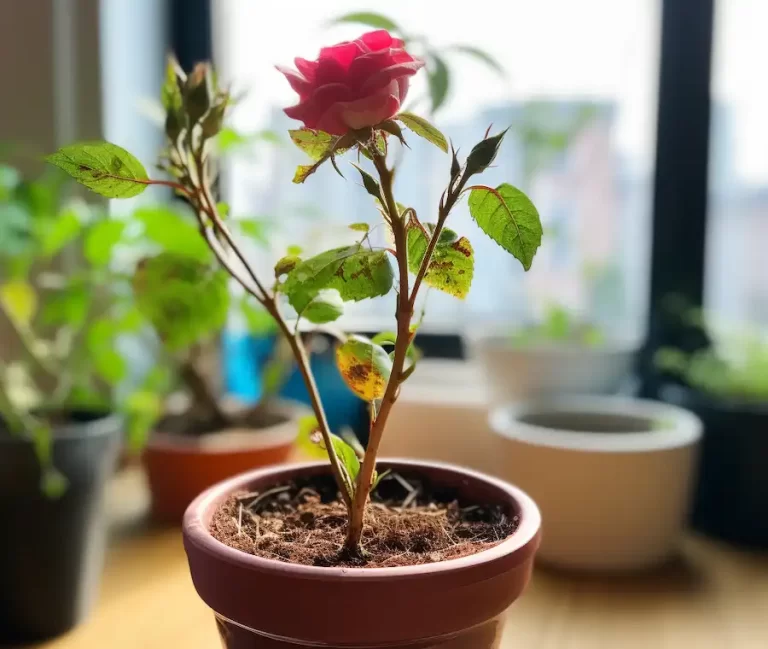
Transplantation and care:
small rose plant - Transplanting seedlings:
Once the seedlings have developed a few sets of true leaves, they can be transplanted into individual pots.
Use a well-draining potting soil and make sure the pots have drainage holes. - Growth conditions:
Provide enough sunlight, at least 6 hours per day, for healthy growth.
Maintain consistent moisture levels, watering when the top inch of soil feels dry.
Fertilize lightly once plants are established. - Hardening off and planting outdoors:
Gradually acclimate the plants to outdoor conditions by exposing them to sun and wind for increasing periods of time.
After the last frost, transplant the seedlings into the garden, making sure they are spaced appropriately for their mature size.
Growing roses from seed can be a fascinating journey, allowing you to witness the entire life cycle of these beautiful flowers. Although it requires time and attention, the joy of nurturing a rose from a tiny seed to a flowering plant is extremely rewarding. Remember that each rose variety may have its own specific requirements, so always seek advice tailored to the particular type of rose you are growing. Enjoy the process and admire the beauty of nature’s creation!