
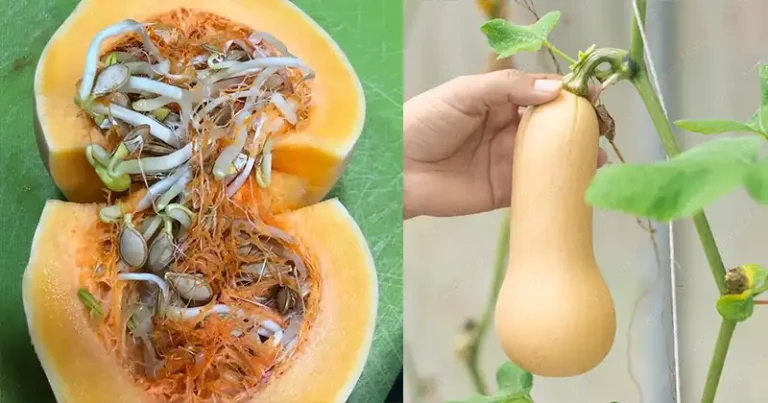
For those with a penchant for sweet and delicious butternut squash but lacking sufficient garden space, fret not! Delicious butternut squash can thrive in containers, offering the joy of homegrown produce even within limited outdoor confines. Aside from being a versatile and nutritious addition to your meals, growing butternut squash is a relatively simple endeavor. This guide will walk you through successfully growing butternut squash in containers, whether your available space is a cozy balcony, a small deck, or a restricted outdoor area. Materials and Tools: Before you begin growing butternut squash, gather the essential materials and tools: Container: Opt for a spacious container, at least 5 gallons in size, ideally larger, to allow for robust root growth. Premium Potting Soil: Select a well-draining potting soil enriched with compost to create a fertile growing medium. Butternut squash seeds or transplantsTrellises or stakes: Needed to support the sprawling vine. Fertilizer: Use a balanced, slow-release fertilizer specifically designed for vegetables. Watering can or hose equipped with a gentle spray nozzle. Garden shears for maintenance. Sunlight: Make sure your container gets at least 6 to 8 hours of direct sunlight per day. Steps for growing butternut squash in containers: Select an appropriate container: Start by choosing a deep container with drainage holes. A container that is at least 5 gallons in size is recommended, although larger containers provide more room for root expansion. Obtain high-quality potting soil: Fill your container with a nutrient-rich potting soil that drains well. Consider mixing in compost to improve soil fertility. Planting butternut squash seeds or transplants: You have two options: start growth from seeds indoors and transplant seedlings later, or sow seeds directly into the container. Plant seeds 1 inch deep, with 2 to 3 seeds per container, then thin them to maintain one healthy seedling per container. Proper watering: Maintain consistent soil moisture, ensuring it remains adequately moist without becoming waterlogged. Direct your watering efforts toward the base of the plant to prevent fungal diseases. Try watering in the morning, allowing the foliage to dry throughout the day.Provide structural support: Given the tendency of butternut squash vines to become both long and heavy, use a trellis or stakes to provide the necessary support for the developing vine. Fertilizing: Begin feeding as soon as the first true leaves appear. Use a balanced, slow-release plant food, following the recommended application rates specified on the product packaging. Pruning: Regularly trim back excessive foliage to promote air circulation and thwart disease development. Care should be taken not to inadvertently damage the main vine during this process. Pollinating: Butternut squash plants produce both male and female flowers. Ensure successful pollination by potentially taking on the task of hand pollination. This can be achieved by transferring pollen from the male flowers to the female flowers using a small brush or by gently shaking the flowers. Harvest: Butternut squash is ready to harvest when the skin hardens and the fruit turns a uniform, dark bronze. Use garden shears to separate the squash from the vine, leaving a few inches of stem intact. Pest and Disease Control: Stay vigilant for common squash pests like aphids, squash bugs, and powdery mildew. Combat these nuisances using organic pest control methods and consider companion planting strategies to deter pests. Bottom Line: Growing butternut squash in containers provides a rewarding, space-saving method for enjoying this delicious and nutritious vegetable. Armed with the right materials, diligent care, and careful attention to detail, you can successfully maintain your butternut squash, whether your growing space is a compact balcony, a charming patio, or a confined outdoor area. By following the steps outlined in this guide, the delight of homegrown butternut squash is within your reach.