
Orchids are not easy plants, but those who manage to grow them derive great satisfaction from maintaining these beautiful flowering plants.
In this article, we’ll show you how to transplant an orchid—a procedure that must be carried out as correctly as possible. The orchid is a beautiful indoor plant that allows us to enrich our apartment with light and color in just a few steps; these types of plants, called epiphytes, adapt well to the conditions of our homes.
When purchasing an orchid plant from a florist or greenhouse, we must take into account that sooner or later it will need to be transplanted, i.e. moved to a larger pot. This is necessary when the plant grows and the roots begin to be squeezed into the original pot.
But when is transplanting an orchid a necessary procedure? There are “signs” that even the uninitiated will notice to know when it’s time to buy a new pot for your orchid.
When to plant orchids?
To ensure a long and healthy life for our orchid, we must replant it every two to three years. However, you should watch out for signs that indicate they need to be transplanted, even prematurely:
The pot is completely filled with roots: this means the pot is too small and no longer suitable for the plant. The soil is very wet and there is mold in the roots. The leaves gradually fall off and turn yellow, and the stems dry out.
How to transplant an orchid
Replanting an orchid is not an activity to be underestimated; a treatment error can damage the roots and lead to the death of the plant.
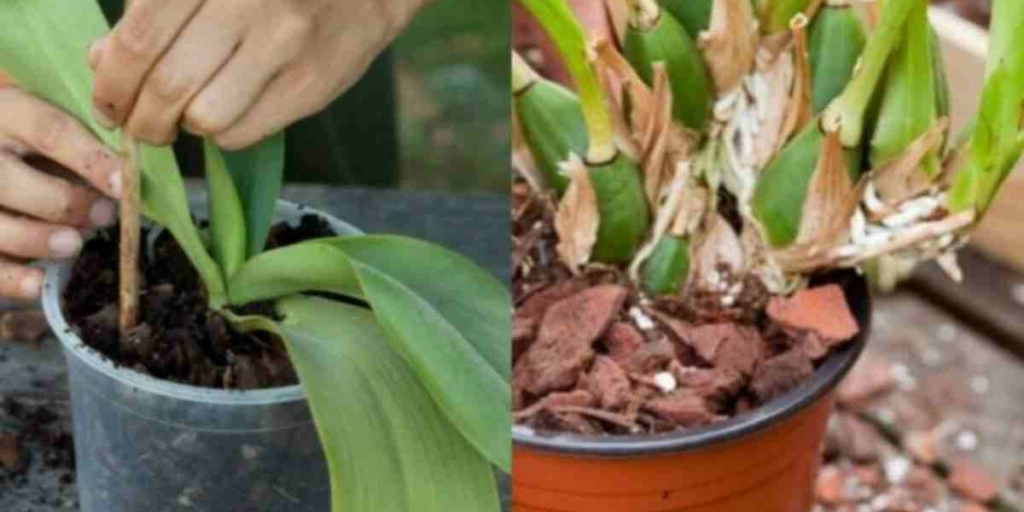
Before you start planting, it’s important to get some bark, which is easy to find at any gardening store. Orchids live attached to the substrate, not the soil, so bark is the best support.
Procedure :
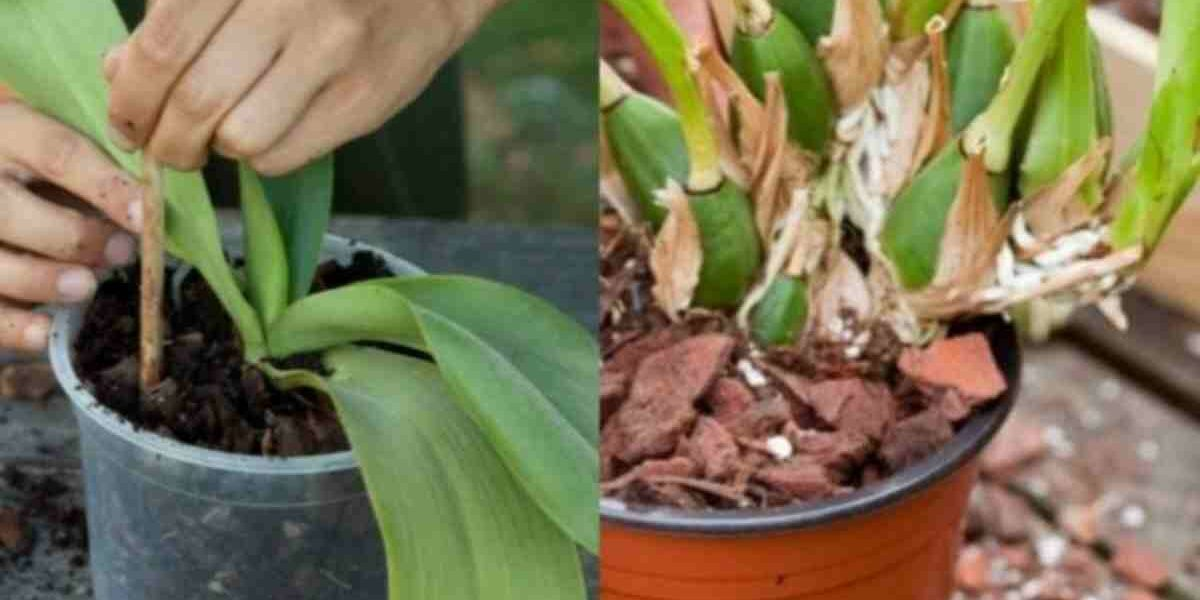
Start by removing the plant from the pot, being careful not to break the roots. Then, we free the roots from the soil and replace them with new soil.
Now that the roots are “bare” and exposed, we check that they are not dry, broken, or diseased; if there are root tips or other unhealthy parts, we work with scissors or clippers and remove anything that needs to be removed, so as not to endanger the conservation of the entire plant. This applies not only to the roots, but also to yellowed leaves and dry stems, which must be cut at the base.
Before planting, prepare the soil where our orchid lives. We take our orchid in our hands, bend all the roots and place the plant in a new pot (larger than the previous one): in the current planting we must act carefully and delicately, if we do not want to break . precious roots.
We keep the plant suspended in an empty pot and drain the soil between the roots, arranging it by hand or with a small garden shovel. As a final step, remember to moisten the plant’s soil well: in the first few days after planting, it is important that the soil is moist and not dry.
Immerse the pot in a container of water for half an hour , the water penetrates through the holes in the bottom of the pot and spreads to the soil. After thirty minutes in the water, the pot is removed and emptied to remove excess water.